How to Apply Your
DTF Transfer
Professional results at home in just 5 minutes. All you need is a household iron.
What You'll Need
Your Jersey
Household Iron
5 Minutes
Flat Surface
Prepare Your Jersey
Lay your jersey flat on a hard, heat-resistant surface. Make sure the area where you'll apply the transfer is clean and wrinkle-free.
Pro Tip: An ironing board works, but a flat table with a thin towel underneath is even better for stability.
Position the Transfer
Place your DTF transfer face-up on the jersey. The design should be visible. Position it exactly where you want it - measure twice!
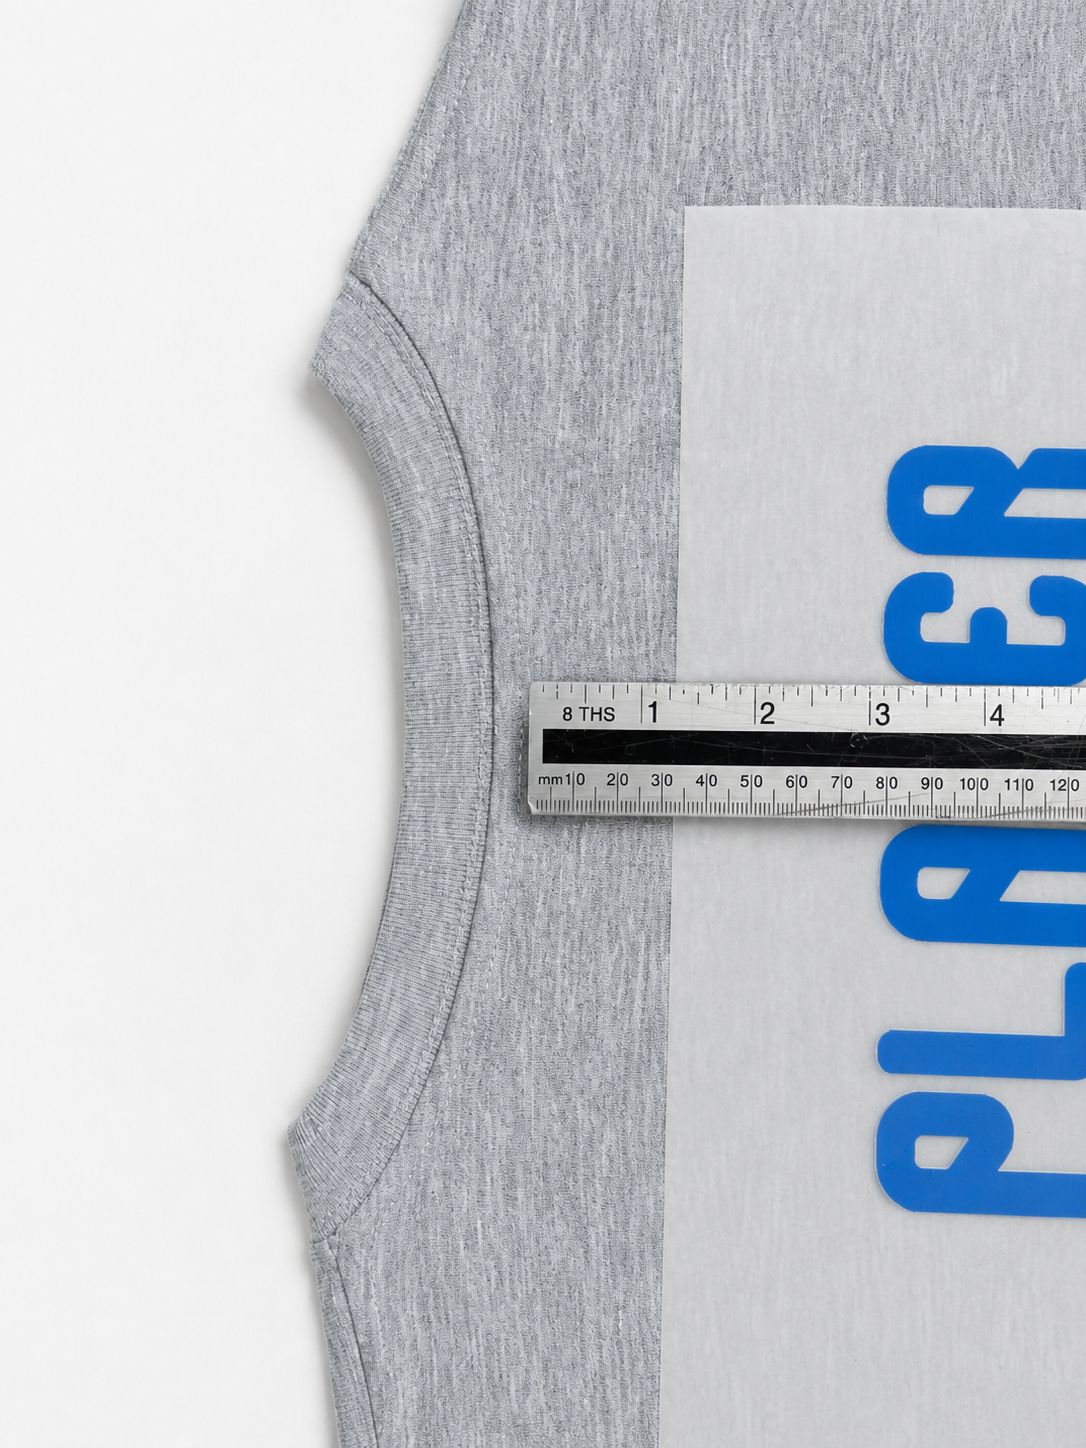
Pro Tip: Use a ruler or measuring tape to center the design. Most kits have the name starting about 3 inches below the collar.
Apply Heat
Cover the transfer with the included protective sheet. Press firmly with a hot iron (cotton/linen setting, ~170°C) for 15-20 seconds. Apply even pressure.

Pro Tip: No steam! Make sure your iron's steam function is off. Press down firmly and don't move the iron around.
Peel & Reveal
Wait 5-10 seconds, then peel the backing off while it's still warm. Peel slowly and steadily at a 45° angle.
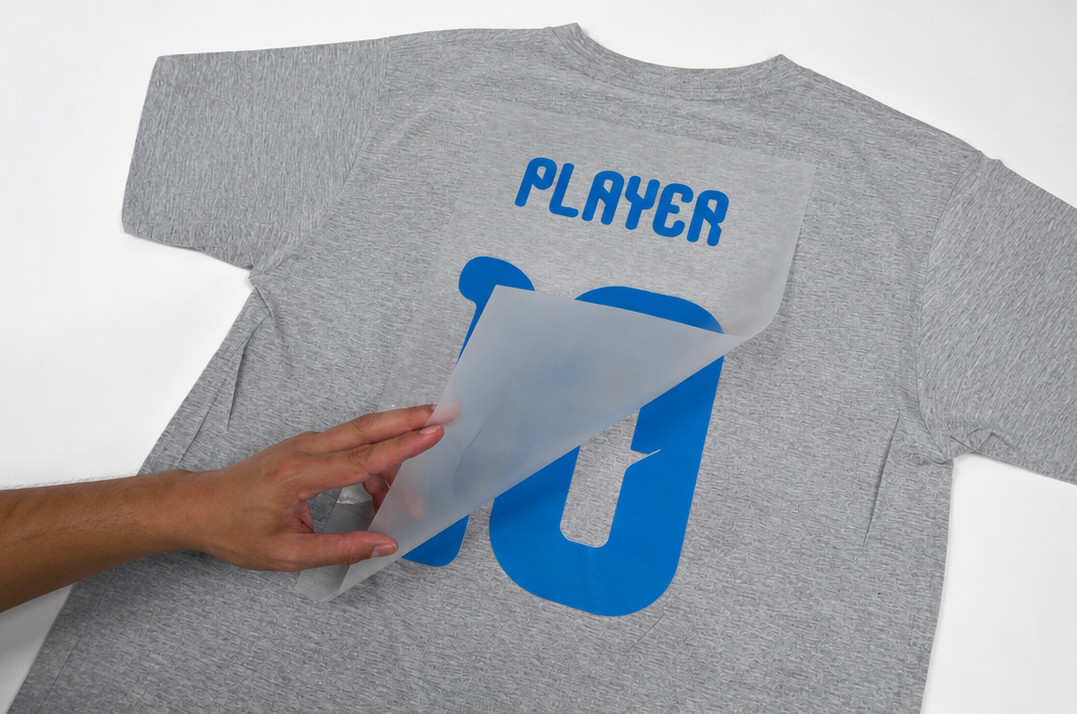
Pro Tip: If any part lifts, lay the backing back down and apply more heat to that area.
Final Press
Once the backing is removed, cover the transfer with the protective sheet again and give it a final 5-second press to ensure perfect adhesion.
Pro Tip: This step is crucial for durability. It ensures the transfer is fully bonded to the fabric.
Common Mistakes to Avoid
Using Steam
Steam can prevent proper adhesion. Always use a dry iron with steam turned off.
Not Enough Pressure
Press down firmly with your body weight. Light ironing won't create a proper bond.
Peeling Too Fast
Peel slowly and steadily. Rushing can lift parts of the design.
Skipping Final Press
The final press after peeling is essential for wash durability.
Washing & Care
- Wait 24 hours after application before first wash
- Wash inside-out on 30°C (cold/delicate cycle)
- Avoid tumble drying - hang dry for best results
- Don't iron directly on the transfer - use the protective sheet
- Properly applied transfers last 50+ washes